Welcome to our Support Center.
Search for answers to your questions below, or ask your own.
Aperture Queues - How To
cfiles staff July 13, 2023, 5:51 p.m.
The Aperture queue module allows users to drop items into queues for later retrieval and processing. Queues are useful for grouping similar items into lists that can be later processed.
Creating Queues
Any Customer Administrator can use the Queues > Queues item in the sidebar to access the Queue manager.
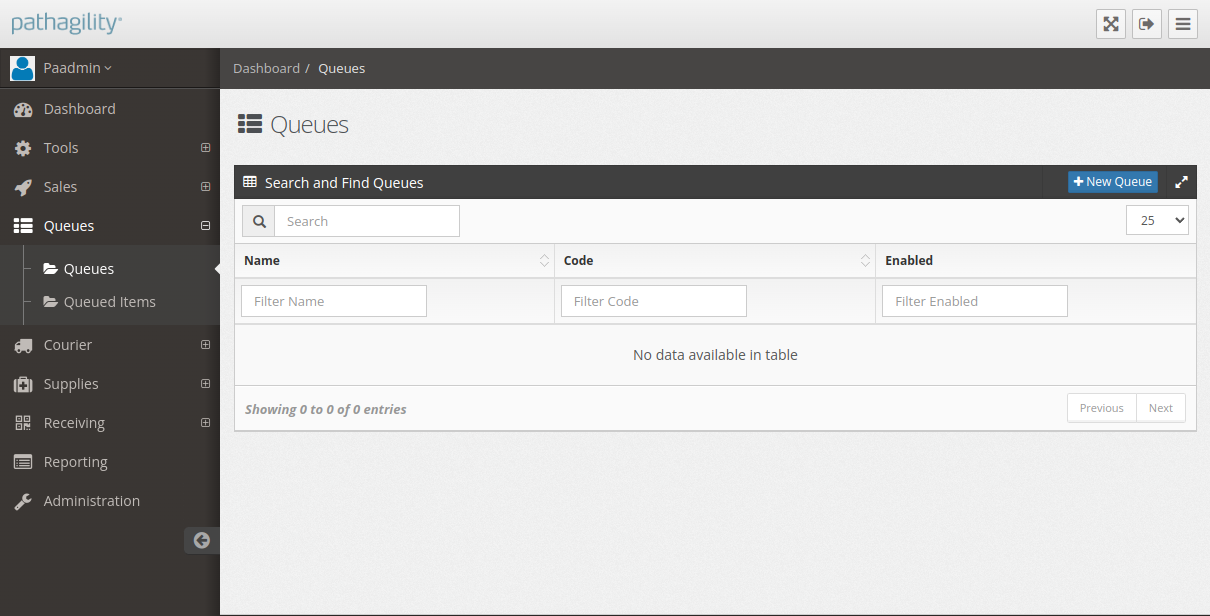
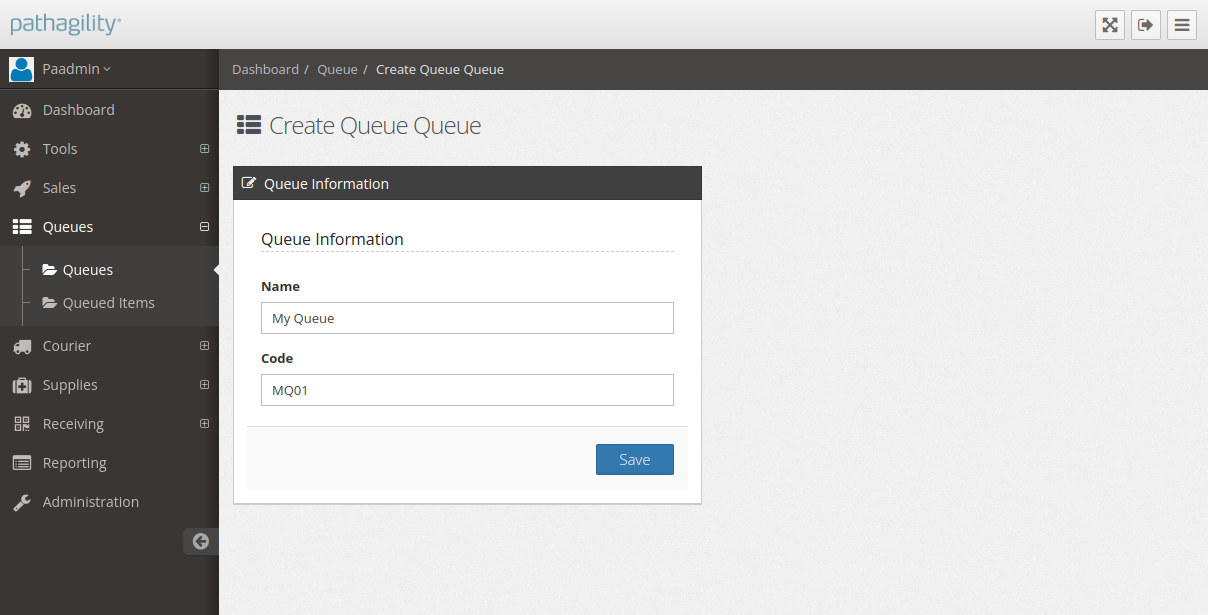
Once on the screen click the New Queue button to add a new Queue. When the screen has loaded give the queue a name and a code. The name can be any value that will allow users to identify the queue. The code is a short value that can be used for integration and other automated processes.
Permissions
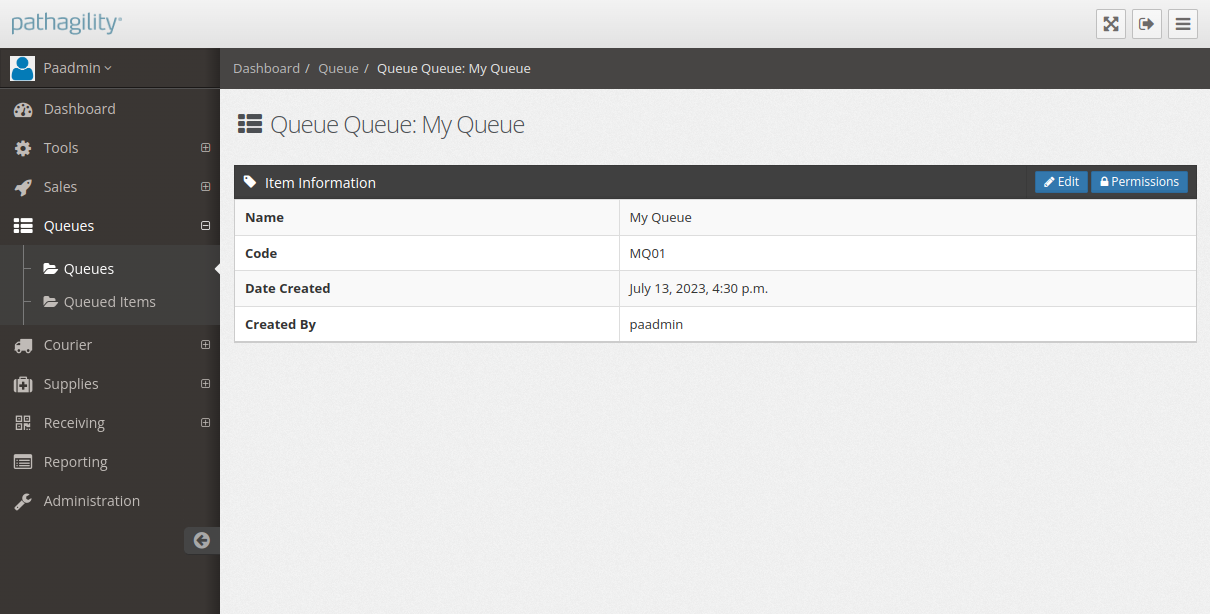
Like many tools in Aperture, queues have object level permissions that controls user level access. From the queue list, click on the queue you would like to manage. From there, click on the Permissions button to manage the queue's permissions.
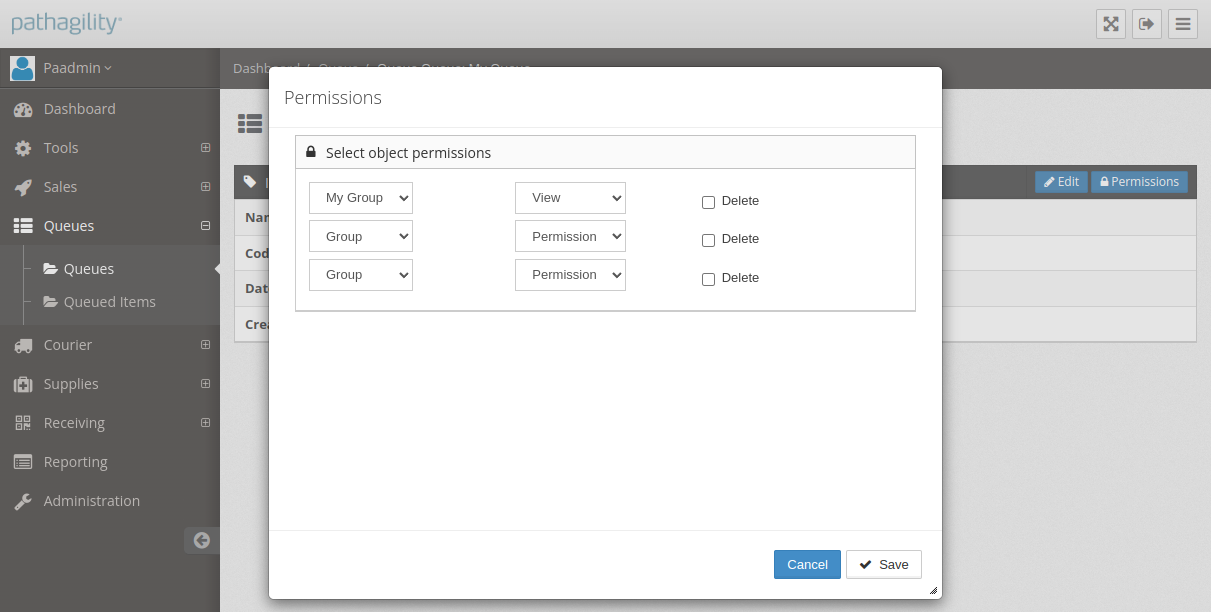
To allow a group access to the queue, select the group in the Group list, select View from the permission list, then click Save. Do note, it is possible to give more than one group access to any given queue. Additionally, if you are unsure what group to select, view the user account you want to give access to in the Administration. The Entity Permission Groups setting will allow you to see and set the user's permission group.
Adding Items to Queues
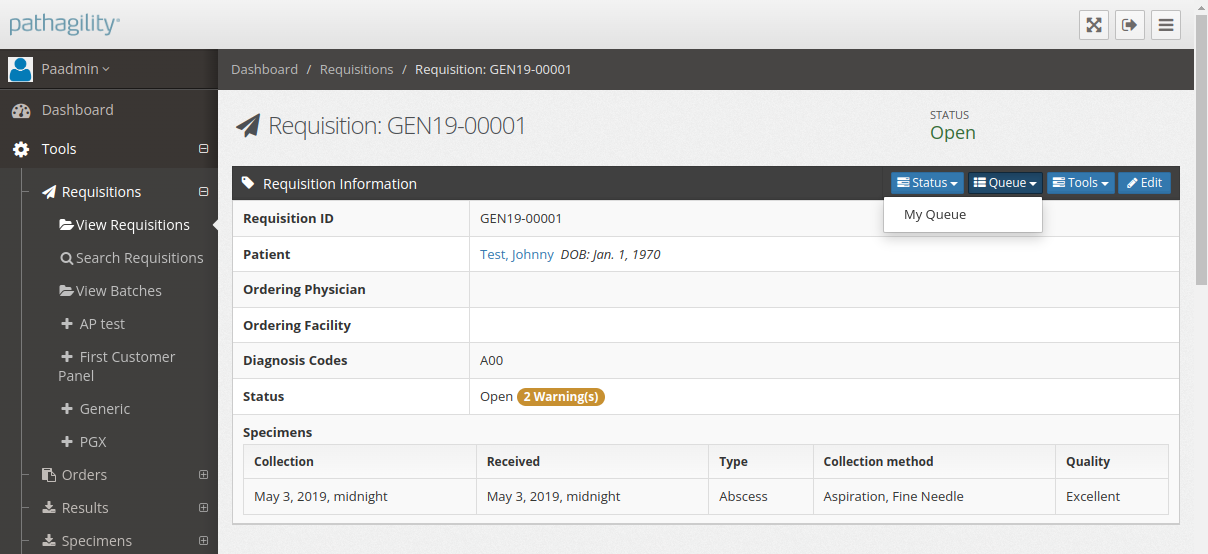
Users can add items to queues using the queue menu on any item that supports queues. To queue an item, simply click the menu and the name of the desired queue. The item will be added to the queue.
Viewing and Processing Queue Items
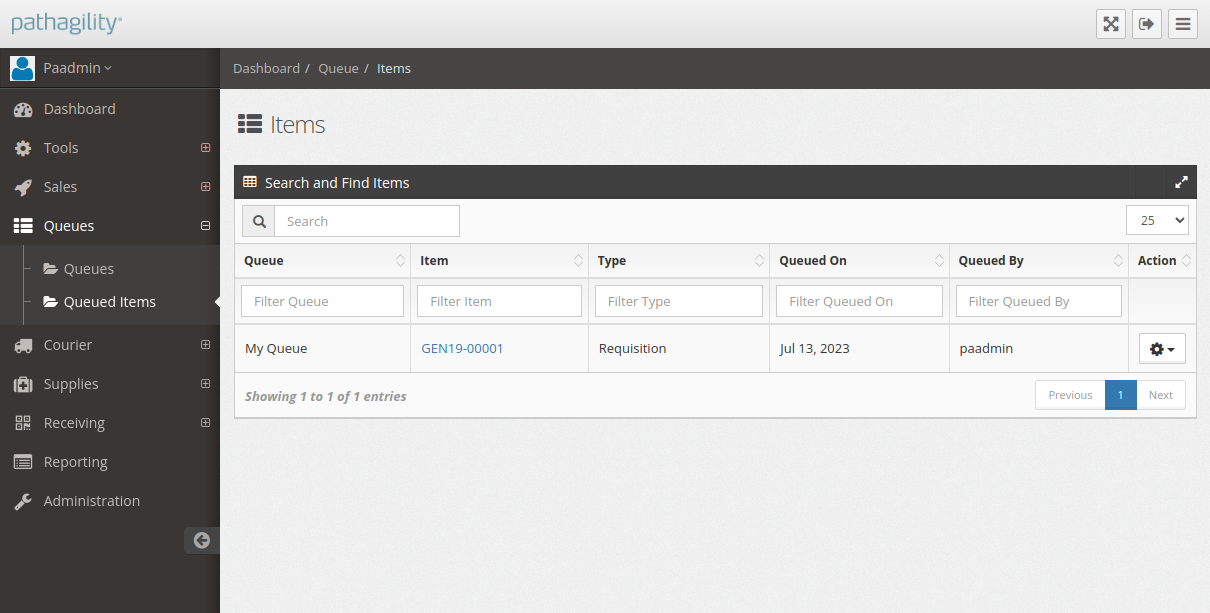
Any user that has access to a queue can access the Queued Items list in the sidebar. This list contains all the queued items a user has access to see and process. This screen will allow the user to search and filter all queued items in a single location. It also provides a direct link to any queued item.
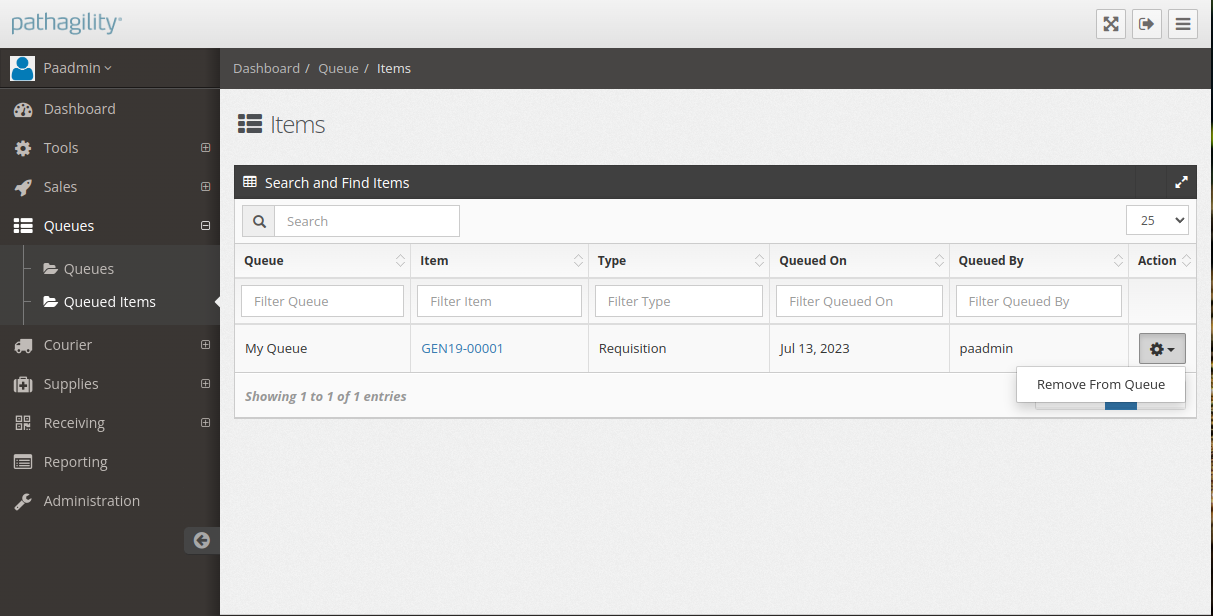
To remove an item from a queue, click on the item's menu in the Queued Items list, then select Remove from Queue. The system will remove the item from the queue.
No responses yet.
Please log in to respond.